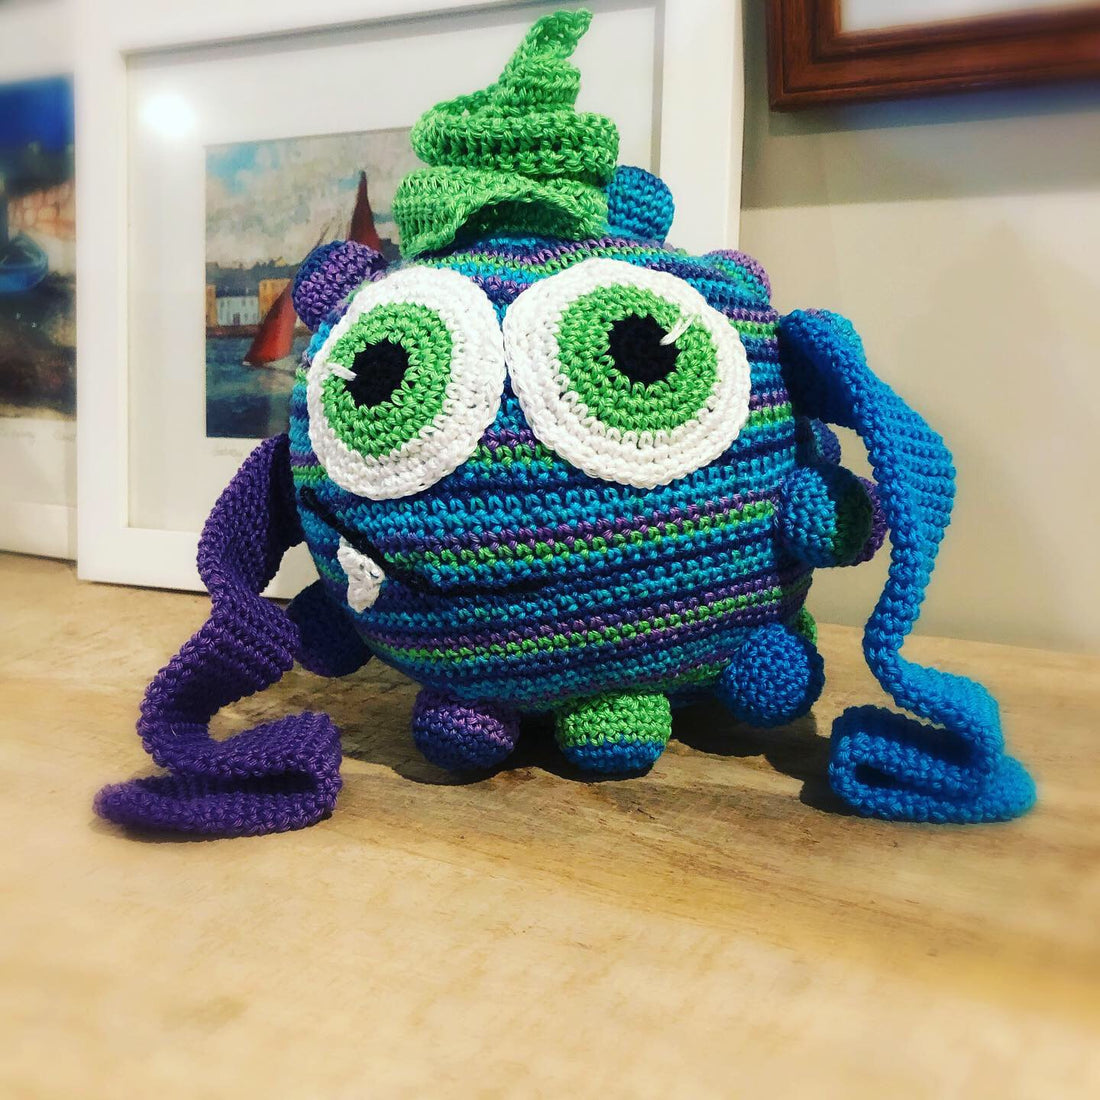
Bob L Hugga
Andrea ClementsBob L Hugga has joined Eyema Hugga as part of our Hugga family!
Bob L is a very loving little dude who gets a huge amount of joy wrapping his long arms around you while he gets a back rub! He has recently been teething so needs a lot of soothing from someone who loves him. He adores being held and was a recent runner up in the world cuddle championships!
Bob L has a rattle in his middle so he is an auditory toy as well as a tactile one and is only gently stuffed so he is super squishy and made for cuddles.
Bob L was designed and made from a combination of yarns: Ella Rae Pheonix DK Prints & Scheepjes Catona which are both mercerised cottons. Both are very soft and maintain lovely stitch definition.

UK Terms/Stitches used throughout.
|
Materials |
Stitches Used |
|
Ella Rae Phoenix DK Prints in Triple Berry Goodness - 100g |
Magic Ring |
|
Scheepjes Catona Vivid Blue 146 - 25g |
ch = chain |
|
Scheepjes Catona Apple Granny 513 - 25g |
sl/st = slip stitch |
|
Scheepjes Catona Delphinium 113 - 25g |
dc = double crochet |
|
Scheepjes Catona Snow White 106 - 10g |
htc = half treble crochet |
|
Scheepjes Catona Jet Black 110 - 10g |
dc2tog = double crochet two stitches together |
|
25mm rattle insert |
Crochet in the round |
|
Hypoallergenic toy stuffing |
Surface crochet chain |
|
4mm Crochet Hook |
|
|
Stitch markers |
|
|
Row counter (if you have one) |
|
|
Yarn/wool needle |
|
Please note that in the pattern I state the colours I have used for different parts of the pattern/design however this was only how I used the colours, don’t feel restricted by my choices, change it up any way you like!
You are welcome to share the pattern and sell your finished Bob L Hugga, however please acknowledge that the design belongs to Yarn Me Calm.
Please respect my rights as a designer, thank you!
If you have questions about this pattern, please contact me at
Body
For the body, the bobbles and the the arms we work ‘in the round’ in a continuous spiral this means we don’t join to the first stitch at the end of the round, we start the next round in the first stitch of the previous row. Whilst this does create a round shape there will also be points visible - don’t worry about that for this part of the project.
You will see that I use a stitch marker, I find them invaluable so I know where each ‘row’ starts and finishes and I also use a digital row counter to help me keep track of how many ‘rows’ I have finished!
As you work it will look a little like this:

UK Terms/Stitches
Row 1: create a magic ring and 6 dc into the ring (6)
Row 2: 2dc in each dc, repeat (12)
Row 3: 1dc, 2dc in the next dc, repeat (18)
Row 4: 2dc, 2dc in the next dc, repeat (24)
Row 5: 3dc, 2dc in the next dc, repeat (30)
Row 6: 4dc, 2dc in the next dc, repeat (36)
Row 7: 5dc, 2dc in the next dc, repeat (42)
Row 8: 6dc, 2dc in the next dc, repeat (48)
Row 9: 7dc, 2dc in the next dc, repeat (54)
Row 10: 8dc, 2dc in the next dc, repeat (60)
Row 11: 9dc, 2dc in the next dc, repeat (66)
Row 12: 10dc, 2dc in the next dc, repeat (72)
Row 13: 11dc, 2dc in the next dc, repeat (78)
Row 14: 12dc, 2dc in the next dc, repeat (84)
Row 15: 13dc, 2dc in the next dc, repeat (90)
Row 16: 14dc, 2dc in the next dc, repeat (96)
Row 17: 15dc, 2dc in the next dc, repeat (102)
Rows 18 - 37: 1dc in every stitch (102)

At this stage you need to partially stuff Bob L and place the rattle disc in the stuffing at the centre of his body.
Row 38: 15dc, dc2tog, repeat (96)
Row 39: 14dc, dc2tog, repeat (90)
Row 40: 13dc, dc2tog, repeat (84)
Row 41: 12dc, dc2tog, repeat (78)
Row 42: 11dc, dc2tog, repeat (72)
Row 43: 10dc, dc2tog, repeat (66)
Row 44: 9dc, dc2tog, repeat (60)
Row 45: 8dc, dc2tog, repeat (54)
Row 46: 7dc, dc2tog, repeat (48)
Row 47: 6dc, dc2tog, repeat (42)
Row 48: 5dc, dc2tog, repeat (36)
Row 49: 4dc, dc2tog, repeat (30)
Row 50: 3dc, dc2tog, repeat (24)
At this stage you need to finish stuffing Bob L before you close him up! Remember, don’t overstuff Bob L as you want him to remain soft, squishy and huggable!
Row 51: 2dc, dc2tog, repeat (18)
Row 52: 1dc, dc2tog, repeat (12)
Row 53: dc2tog, repeat (6)
Row 54: fasten off leaving a tail. Using the tail and your yarn needle thread through the remaining stitches and pull to close. Fasten off and weave in ends.

Arms (make 2)
Remember to work in spiral, un-joined rounds, moving the marker up each round to mark the beginning of the round.
I made the arms in different colours using Scheepjes Catona in Delphinium 113 and Vivid Blue 146.
I haven’t stuffed Bob L’s arms at all, leaving them soft, flexible and flat. You could slightly stuff the ends of his arms (his hands) if you wanted them to be more defined.

UK Terms/Stitches
Row 1: create a magic ring and 6 dc into the ring (6)
Row 2: 2dc in each stitch, repeat (12)
Row 3: 1dc, 2dc in the next dc, repeat (18)
Row 4+: dc in every stitch until the arm measures approximately 30cm & fasten off leaving a long tail for sewing (18)
Bobbles
Remember to work in spiral, un-joined rounds, moving the marker up each round to mark the beginning of the round.
I made the bobbles in different colours, using the different colours (Triple Berry Goodness, Delphinium, Vivid Blue and Apple Granny). I made a total of 22 bobbles but you could make more if you wanted less gaps between them on Bob L’s back.
UK Terms/Stitches
Row 1: create a magic ring and 6 dc into the ring (6)
Row 2: 2dc in each stitch, repeat (12)
Row 3: 1dc, 2dc in the next dc, repeat (18)
Row 4-7: dc in every stitch & fasten off leaving a long tail for sewing (18)

Fill the bobbles with toy stuffing and sew them to the Bob L’s bottom, sides and back moving up to the sides of Bob L’s head. I have placed mine quite randomly making sure they are fairly evenly placed. Bob L does not have any legs so the bobbles act as something for him to stand on.
At this stage I also sewed Bob L’s arms on and placed them in front of a bobble on each side of Bob L’s face to anchor them well to the body.
Eyes - (make 2)
Bob L’s eyes are made in the round with three colour changes. However unlike his body, bobbles and arms they are crocheted using the ‘staggered’ increase technique. This means that they are a lovely round shape rather than having the points as seen when making his body.
UK Terms/Stitches
Starting with Jet Black:
Row 1: create a magic ring and 6 dc into the ring (6)
Row 2: 2dc in each stitch, repeat (12)
Change colour to Apple Green (we start staggering our increases from Row 3)
Row 3: 2dc in next stitch, 1dc in next stitch, repeat (18)
Row 4: 1dc in next stitch, *2dc in next stitch, 1dc in the next 2 stitches rep from * to last stitch, 1dc in last st. (24)
Row 5: *2dc in next stitch, 1dc in next 3 stitches, rep from * to end of row. (30)

Change colour to Snow White:
Row 6: 1dc in next 2 stitches, 2dc in next stitch, *1dc in next 4 stitches, 2dc in next stitch, repeat from * to the last 2 stitches, 1dc in last 2 stitches. (36)
Row 7: *2dc in next stitch, 1dc in next 5 stitches, repeat from * to the end of round. (42)
Row 8: 1dc in next 3 stitches, 2dc in next stitch, *1dc in next 6 stitches, 2dc in next stitch, repeat from * to the last 3 stitches, 1dc in the last 3 stitches. (48)

Finish off and leave long tail for sewing.
Put a glint in your eye - I did this by sewing two stitches side by side going from the join of the Apple Granny & Snow White to the Jet Black pupil.
Hair
The hair is made using a technique called surface crochet. This technique was also used in making Eyema’s hair tubes (Bob L’s beloved sister).
Surface crochet can be a little tricky when you first try it but is a fantastic technique to know. We use it here because it anchors the hair to Bob L’s body far more effectively than stitching it on. Usually surface crochet requires that the yarn is worked from behind your work, however with this project it is worked from the front.
For more help on surface crochet please look at Eyema Hugga’s pattern on The Calming Yarn Blog. There are step by step instructions and a short video tutorial available.
UK Terms/Stitches
Row 1: Surface crochet approximately 75 surface chains in a spiral on the top of Bob L’s head, ch1 and turn so you can crochet back into the stitches you have just finished.

Row 2: 1Dc into each surface chain you have just made going through both of the top loops (see picture) until the end of the row, ch1 and turn.

Row 3: 1htc into each stitch, ch1 turn.
Row 4: 1dc into each stitch, ch1 turn.

Row 5: 1htc into each stitch, ch1 turn.
Row 6: 1dc into each stitch, ch1 turn. Dc into each
Row 7: 1htc into each stitch, ch1 turn.
Row 8: 1dc into each stitch, ch1 turn. Dc into each
Fasten off and sew in ends.

I folded parts of Bob L’s hair over to give it a bit of a different look, but you could leave it all standing free!
Mouth
Using Jet Black sew a mouth on one side of Bob L’s face, curved up into a crooked smile. I whip stitched back over the initial lot of stitches to give his mouth a more defined look. However feel free to sew his mouth in whichever way suits you best!
Tooth/Teeth
Using Snow White
UK Terms/Stitches
Ch5,
1dc into the 2nd stitch from the hook, 1 hdc in the next stitch, 1tr in the next stitch, fasten off leaving a tail for sewing.

I gave my Bob L only one tooth but you can make as many as you like!
Sew your tooth/teeth into the curve of Bob L’s mouth.